
Chapter 23 HTTPS - NGINX & Docker Compose
It’s absolutely critical to setup HTTPS - A global security standard and encryption technology to prevent our application users from having their authentication records (user id and password) compromized. The goal for this section is to setup:
- NGINX - An open source web server and reverse proxy technology used for hosting websites and applications
- Docker Compose - A technology for enabling docker containers to communicate to each other
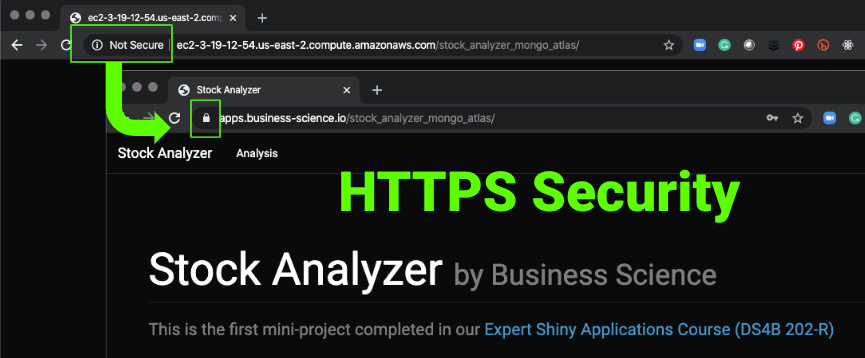
With NGINX and Docker, we can listen and direct traffic to our EC2 Server through an HTTPS security layer. The end result is viewable in a Chrome Browser. The “Lock” indicates HTTPS encryption is present.
23.1 NGINX - HTTPS Web Server
NGINX is a popular open source software for setting up webservers and reverse proxy. We’ll use it in this course to set up the HTTPS Secure connection with SSL.

23.1.1 NGINX Installation via Docker Image
We can easily use the nginx:latest docker image to stand up our application without installing any software. We can then use NGINX as needed by communicating between a NGINX Docker Container and a Shiny Server Container. Use the following command to get a docker image containing the latest version of NGINX.
23.1.2 nginx.conf File Template
The nginx.conf file we will use to setup a web-server that routes traffic to HTTPS (Port 443) and encrypts communication using our SSL Certificate files. Make sure to replace:
<your_subdomain.com>with your subdomain<your_ssl_cert.pem>with your SSL Certificate File<your_ssl_private_key.key>with your SSL Certificate Private Key File
events { }

http {

  map $http_upgrade $connection_upgrade {
      default upgrade;
      ''      close;
    }

  server {
    listen 80;
    server_name <your_subdomain.com>;
    return 301 https://<your_subdomain.com>$request_uri;
         }

   server {
    listen 443 ssl;
    server_name <your_subdomain.com>;

    ssl_certificate /ssl/<your_ssl_cert.pem>;
    ssl_certificate_key /ssl/<your_ssl_private_key.key>;

    access_log /var/log/nginx/data-access.log combined;

    location / {
       proxy_pass http://shiny:3838/;
       proxy_set_header X-Real-IP  $remote_addr;
       proxy_set_header X-Forwarded-For $remote_addr;
       proxy_set_header Host $host;
       proxy_set_header X-Forwarded-Proto $scheme;
       proxy_redirect http://shiny:3838/ $scheme://$http_host/;
       proxy_http_version 1.1;
       proxy_set_header Upgrade $http_upgrade;
       proxy_set_header Connection $connection_upgrade;
       proxy_read_timeout 20d;
       proxy_buffering off;
       }
   }
}
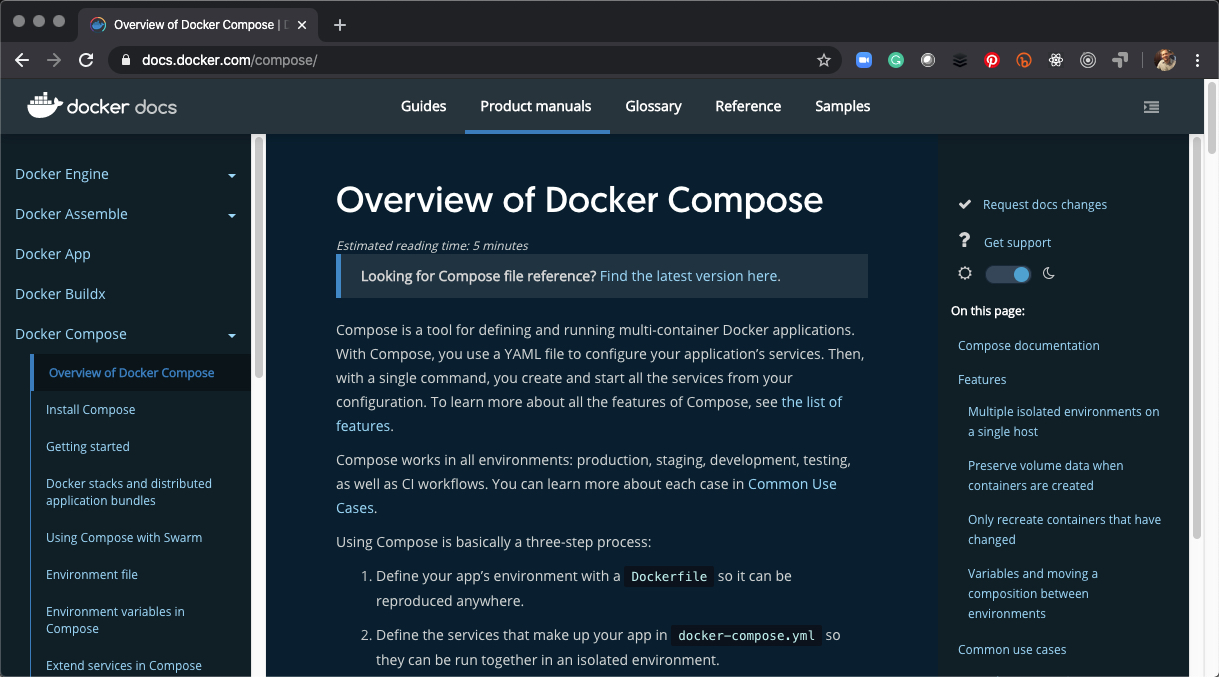
23.2 Docker Compose
Docker Compose is a tool for running multi-container applications. It uses a YAML interface to docker, which allows for making docker-compose.yml file that is a recipe building one or more docker containers.
23.2.1 Advantages of Docker Compose vs Docker
The advantages are that docker compose files are:
- Easy to setup
- Enable communication between docker containers
- Can be reused / reproduced easily rather than typing in docker CLI commands
23.2.2 Docker Compose Installation
Check to make sure you have docker-compose installed. It should have been installed when you installed docker.
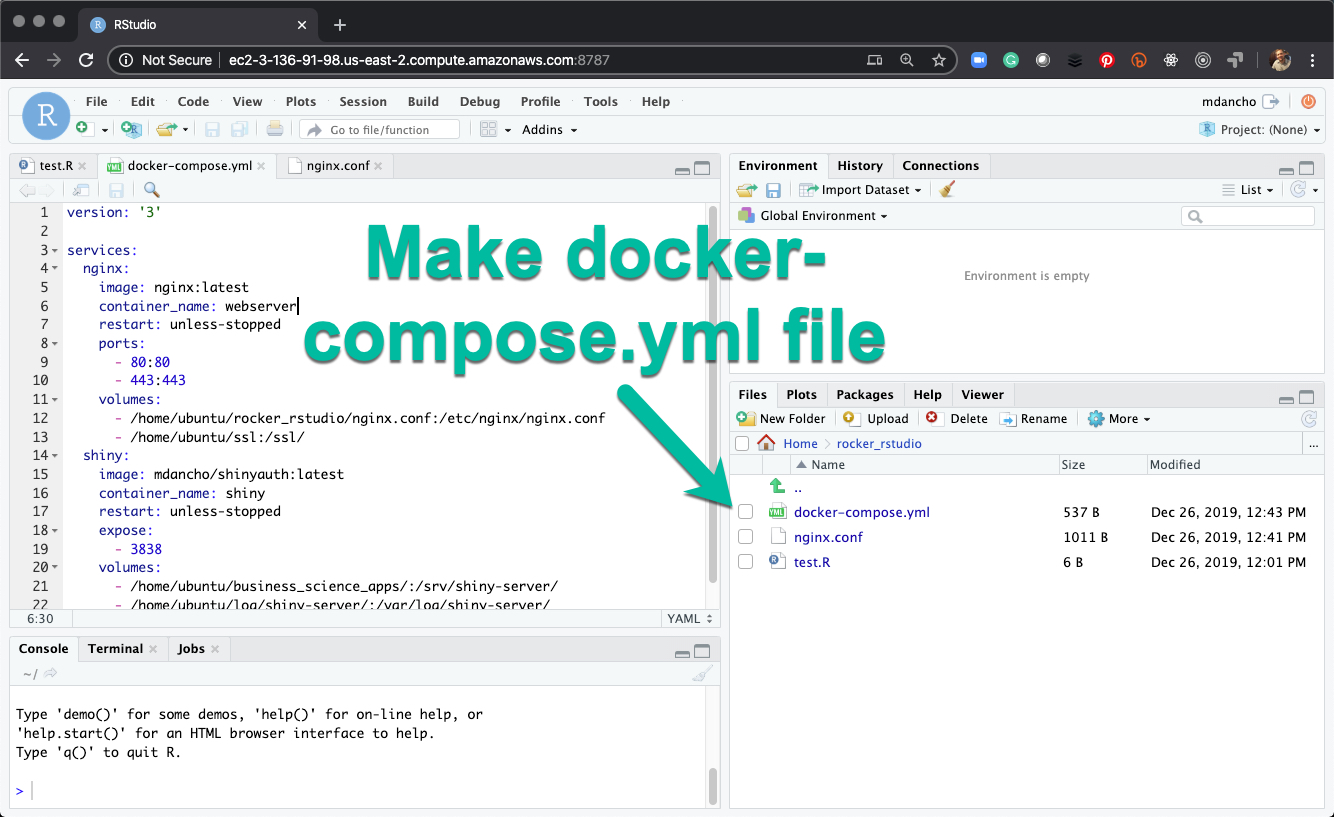
23.2.3 Docker Compose File Template
The docker-compose.yml template we will use to expose Shiny Server to NGINX:
version: '3'

services:
  nginx:
    image: nginx:latest
    container_name: webserver
    restart: unless-stopped
    ports:
      - 80:80
      - 443:443
    volumes:
      - /home/ubuntu/rstudio_docker/nginx.conf:/etc/nginx/nginx.conf
      - /home/ubuntu/ssl:/ssl/
  shiny:
    image: mdancho/shinyauth:latest
    container_name: shiny
    restart: unless-stopped
    expose:
      - 3838
    volumes:
      - /home/ubuntu/business_science_apps/:/srv/shiny-server/
      - /home/ubuntu/log/shiny-server/:/var/log/shiny-server/
23.3 HTTPS Setup with NGINX & Docker Compose
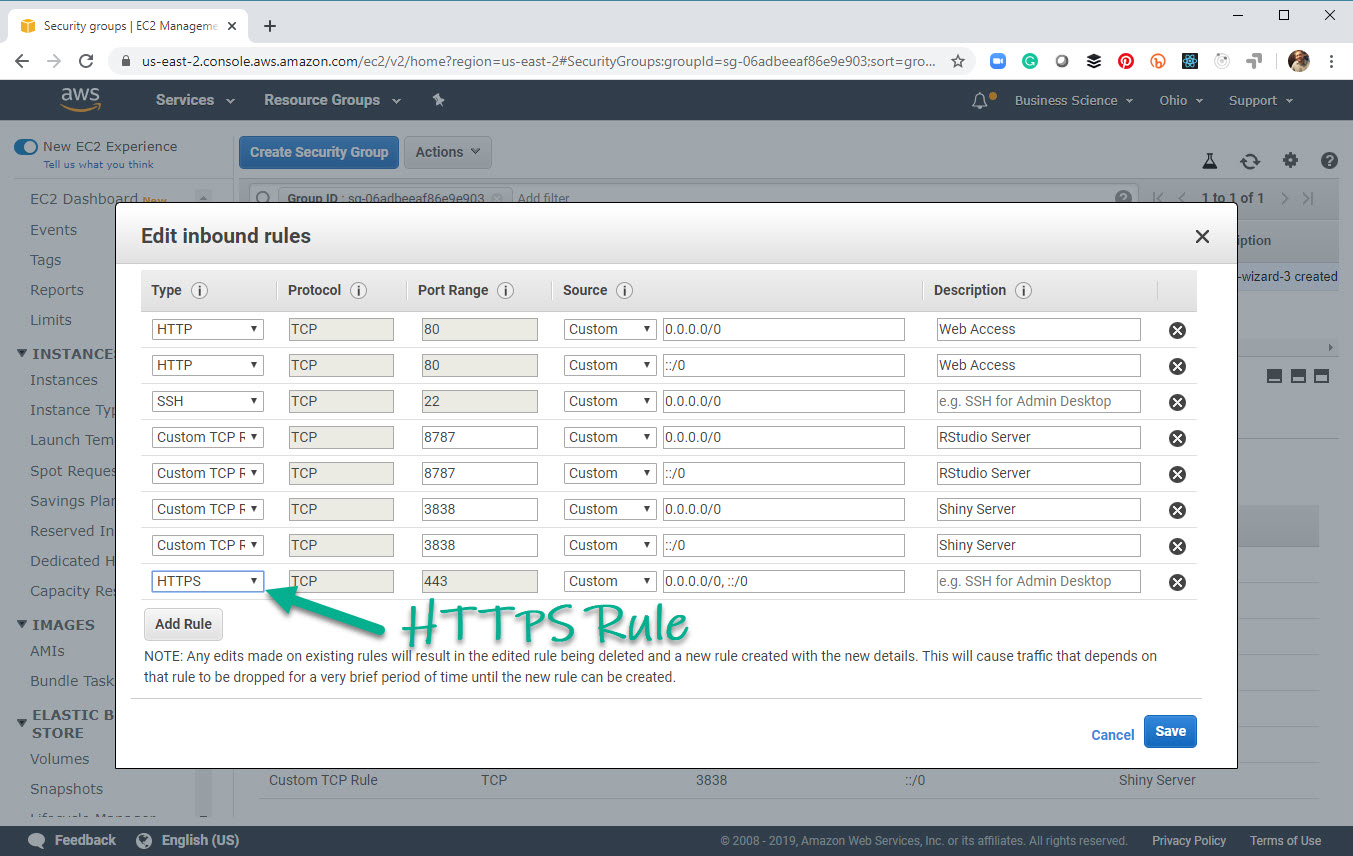
23.3.1 Step 1 - Open HTTPS Port 443 on AWS
Navigate to your Security Group for your EC2 Instance, and add an HTTPS rule to open port 443.
23.3.2 Step 2 - Use FileZila to Transfer Your Cloudflare SSL Certificates
Use FileZilla, a SSH Client for transferring files to and from the EC2 Server.
- Transfer the SSL Certificates from your Local Computer
- To the EC2 Server in the directory location
/home/ubuntu/ssl/
![]()
23.3.3 Step 3 - Use RStudio IDE as a Text Editor
If needed, you can restart a docker container connecting our Cloud RStudio IDE to the /home/ubuntu/rstudio_docker/ directory.
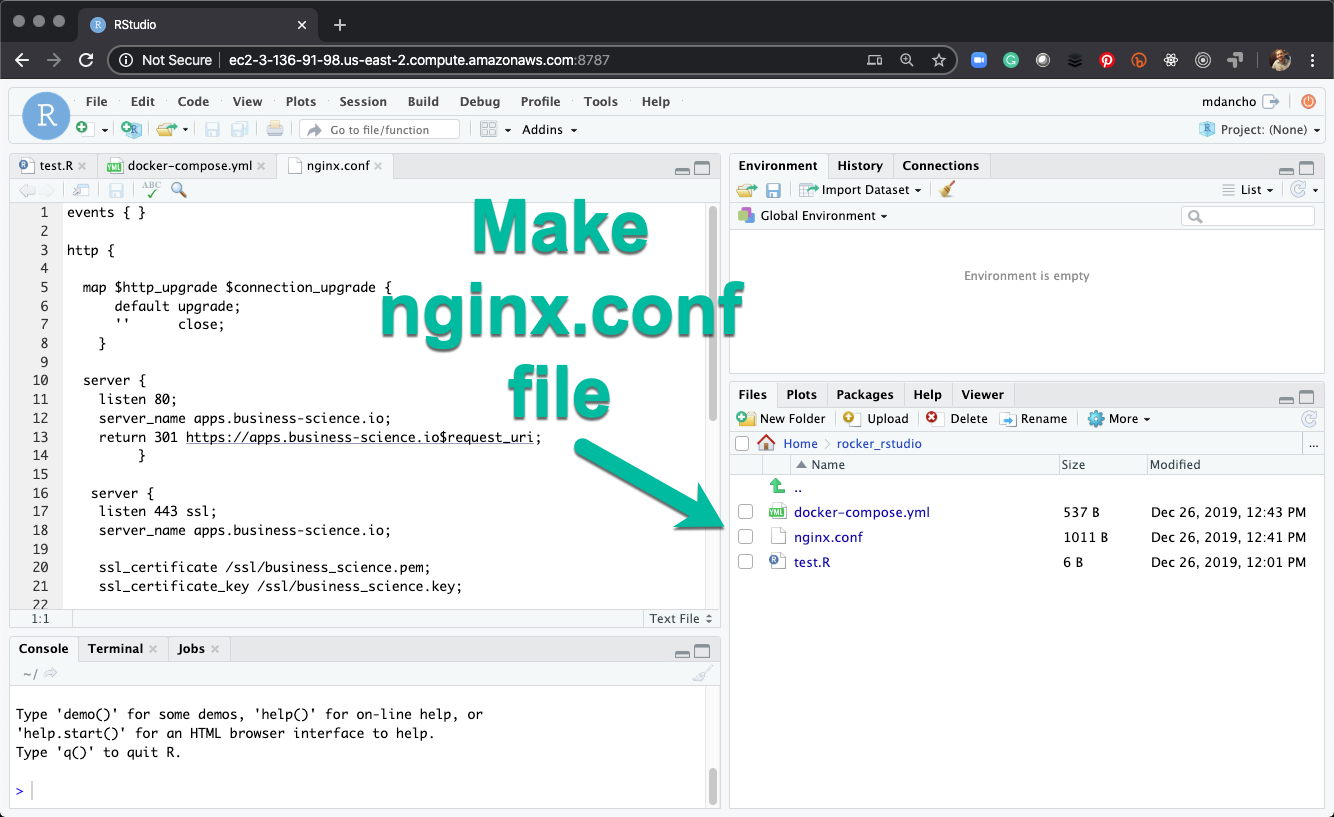
23.3.4 Step 4 - Make the NGINX Configuration File
Use the nginx.conf file template modifying for your domain/subdomain and SSL certificate paths.
23.3.5 Step 5 - Setup the Docker Compose File
Use the docker-compose.yml template modifying as needed to match your server file and directory paths.
23.3.6 Step 6 - Run Your Docker Compose File
Run the following command to stand up your applications using HTTPS.
23.3.7 Step 7 - Check to Make Sure HTTPS is Working
Navigate to your subdomain and test the applications for HTTPS. You should see the “Lock” Icon in the URL of Google Chrome.
23.4 Wrapup
Congratulations. You’ve now successfully:
- Created a NGINX Container that runs your applications in HTTPS (Secured) via SSL encryption
- Created a Docker Compose file that orchestrates the communication between NGINX Security Layer and the Shiny Server Applications
- Enabled your applications to run using HTTPS
Become a Expert Shiny Developer with AWS
Have a question? Leave a comment.