
Chapter 16 GitHub
This document covers the using GitHub (https://github.com/) for a version-controlled software workflow connecting both local and remote repositories. At the end of this, you will have connected a local and remote repository containing your Stock Analyzer application.

16.1 Prerequisites
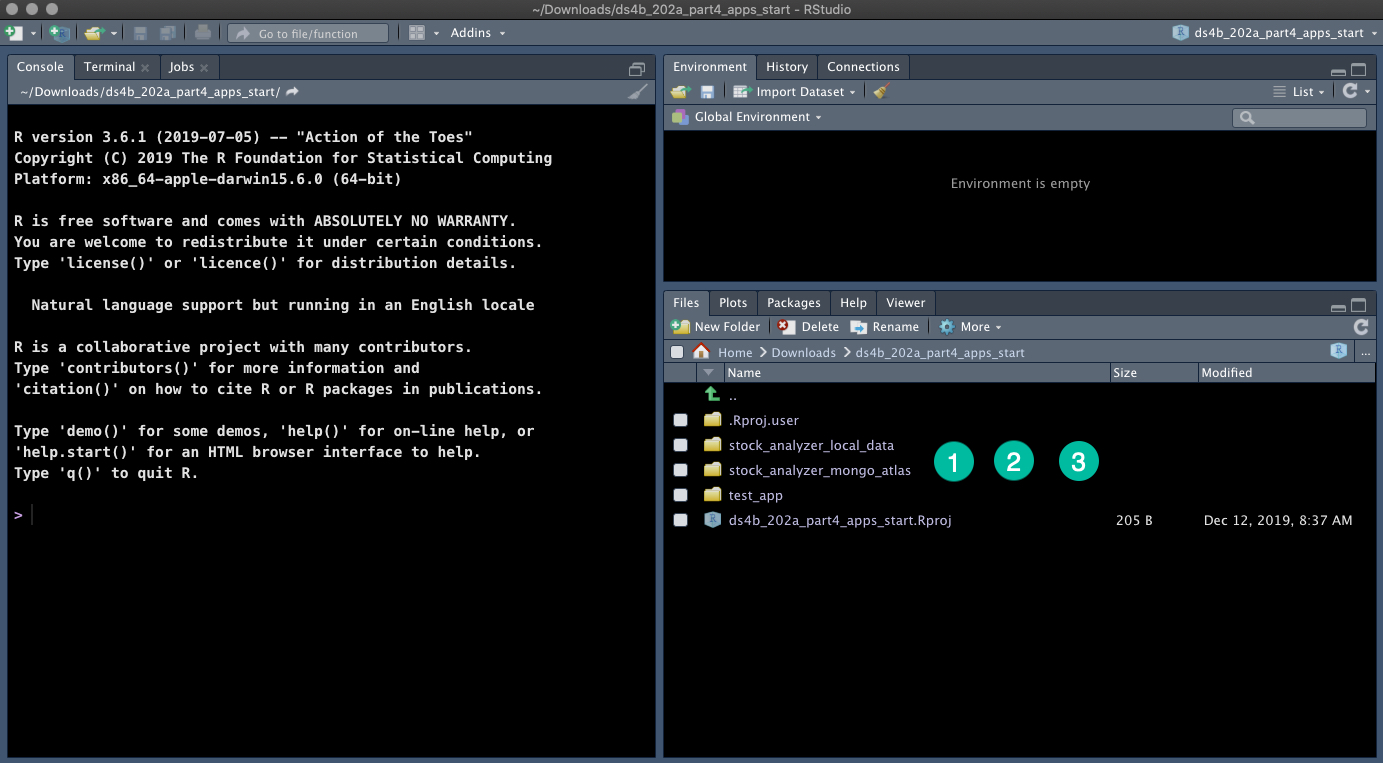
Download the zip file (ds4b_202a_part_4_apps_start). Open the R Project, ds4b_202a_part_4_apps_start.Rproj, to get started. You will see 3 application directories:
- Test App -
ds4b_202a_part_4_apps_start/test_app - Stock Analyzer (Local Data Storage) -
ds4b_202a_part_4_apps_start/stock_analyzer_local_data - Stock Analyzer (MongoDB Atlas) -
ds4b_202a_part_4_apps_start/stock_analyzer_mongo_atlas
Test each of the applications out.
Important Note - You will need to adjust the config.yml file for the Stock Analyzer that connects to MongoDB Atlas
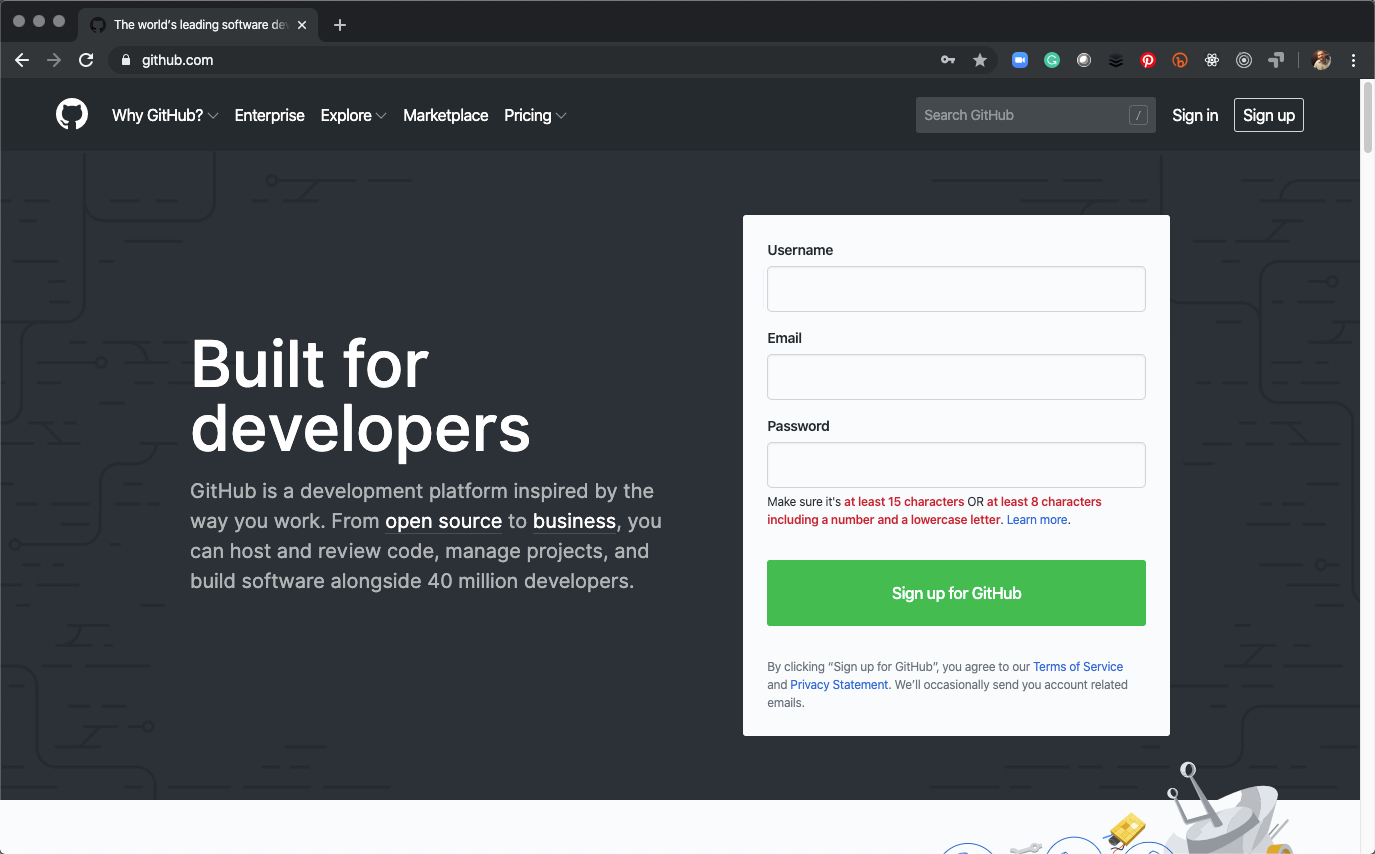
16.2 Create a Git Account
If you don’t have a GitHub account, create one at GitHub (https://github.com/).
16.3 Check Git Installation on Your Local Computer
Check to make sure you have git installed with git --version.
16.4 Local Repository Setup
16.4.1 Step 1 - Add Git Version Control to Your Project
Add version control by going to Tools > Version Control > Project Setup.
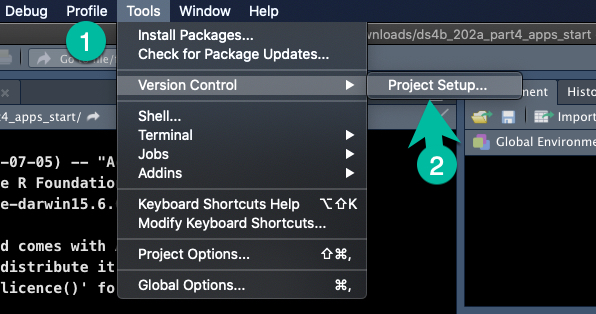
Select “Git” from the dropdown.
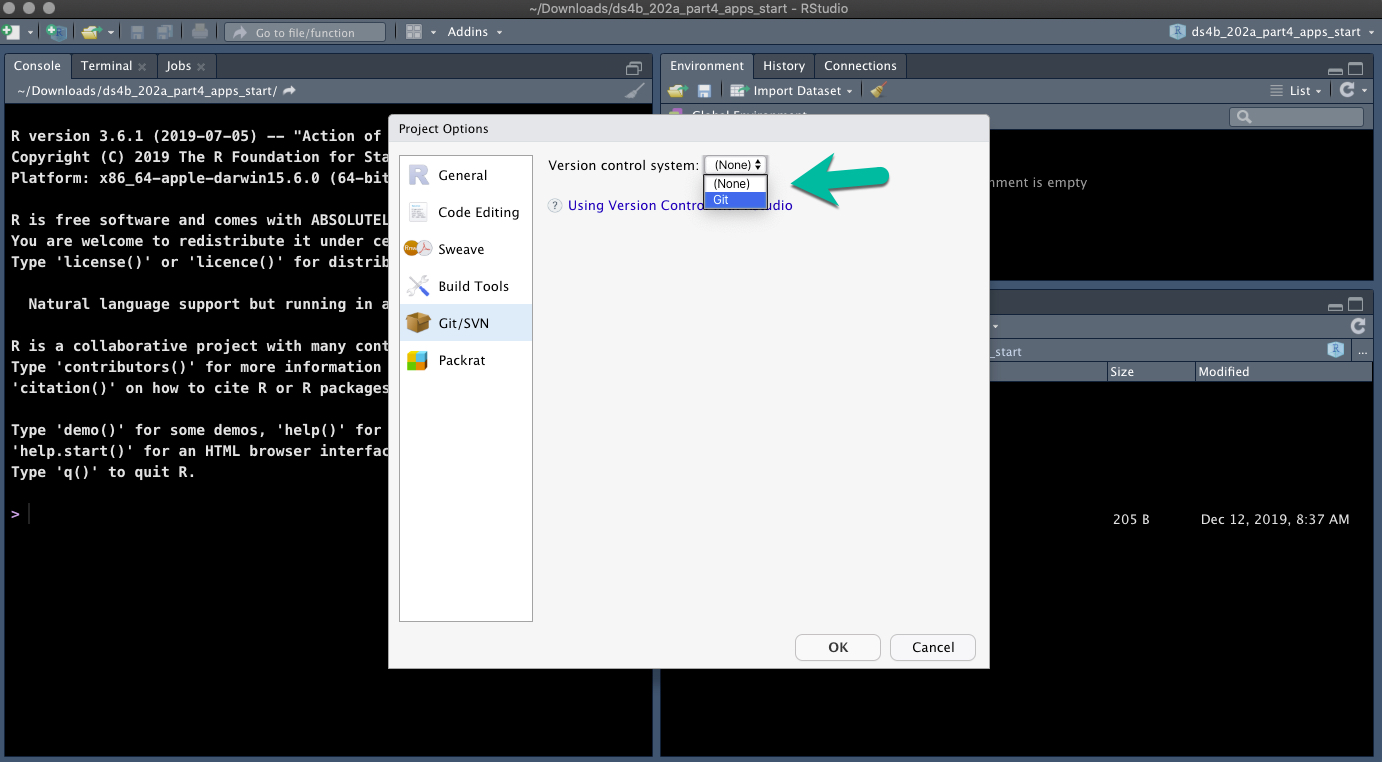
When RStudio restarts, you will have a “Git” pane.
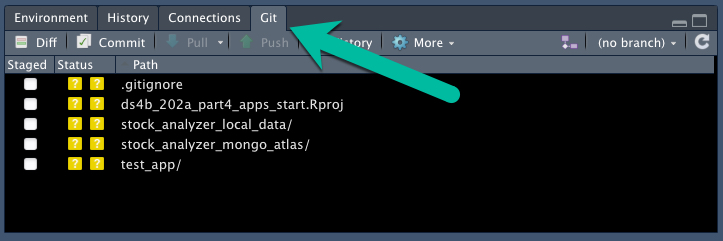
16.4.2 Step 2 - Make your Initial Commit
This moves the files from working to local repository, or in other words takes your first snapshot.
- Click “Commit” in the Pane
- “Stage” each of the directories and files
- Add a “Commit” Message
- Click “Commit Button”

16.5 Remote Repository Setup
Next, we’ll create a remote repo on GitHub to house the files.
Important Note - This will be a private repo because the Stock Analyzer MongoDB Atlas app contains a config.yml file that includes your Connection Information. We do not want others outside of our organization to see this information.
16.5.1 Step 1 - Sign In & Go To Repositories
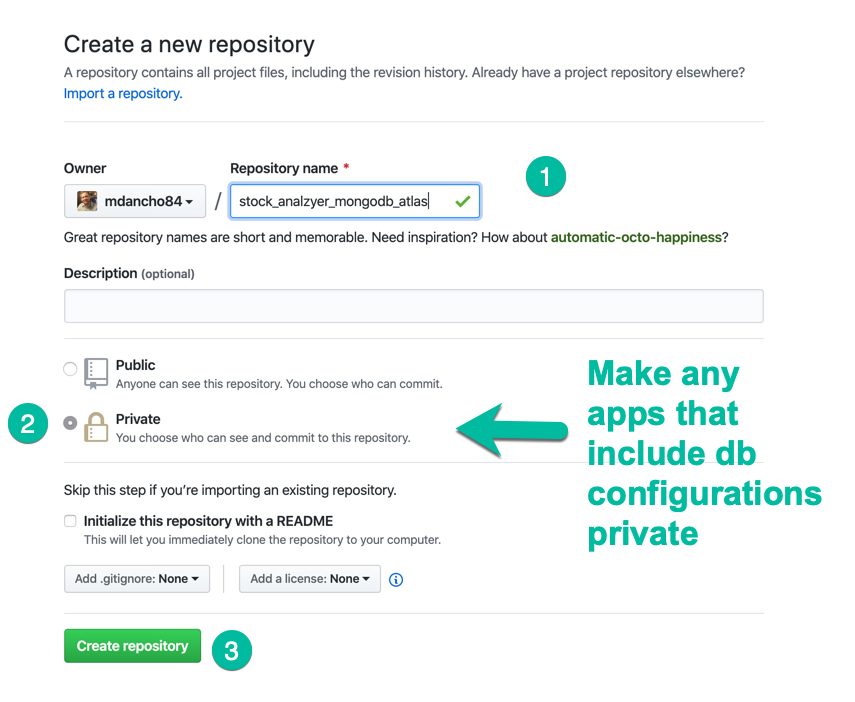
16.5.2 Step 2 - Make a Private Repo
We can make Private Repos via GitHub.
- Name it something related to the “Stock Analyzer Project”.
- Select “Private” - Never including
config.ymlfiles in publically facing software.
You will then be given setup instructions for linking the remote and local repo.
16.5.3 Step 3 - Connect Local to Remote & Push
Follow the instructions to push an existing repository from the Command Line.
- Copy the code to add the remote repository to our local repository
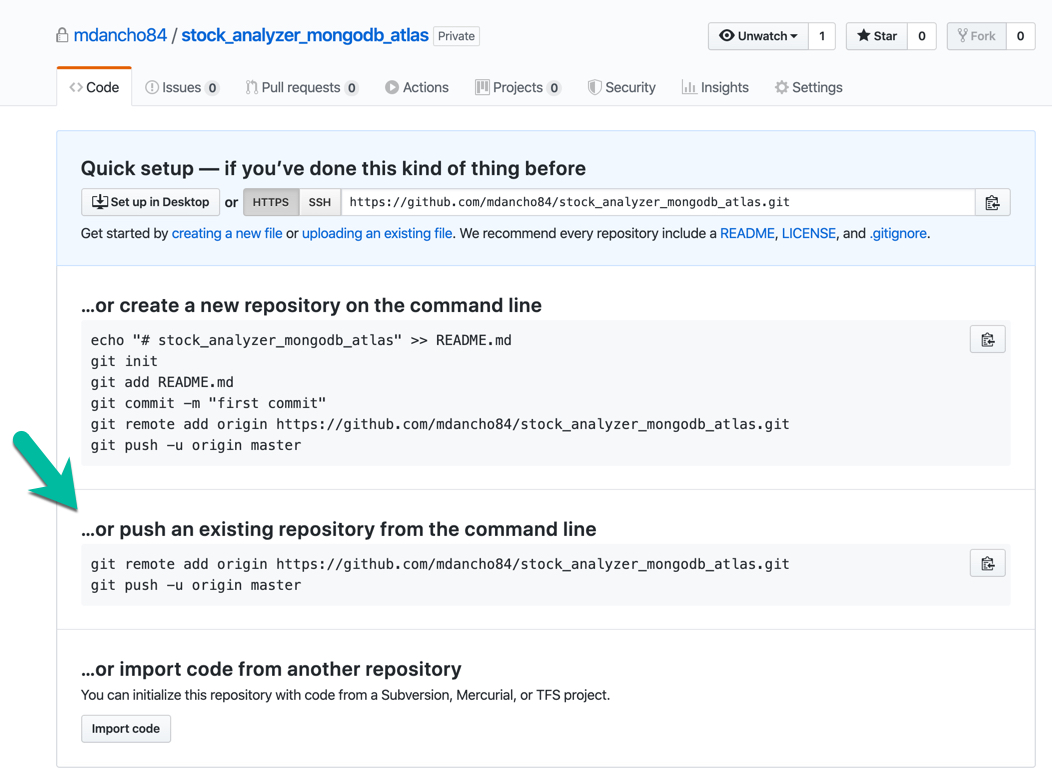
We can use RStudio’s terminal to create the link between Local and Remote.
git remote add origin https://github.com/your_account/your_remote_repo.git- Links your remote and local reposgit push -u origin master- Pushes all of your commited files in your Local Repo to the Remote Repo

- Check the Remote (GitHub) repository by refreshing the page. You should now see your files in a Private Repo. Note - You can also change the name of your Repo if you don’t like the previous name.
16.6 Wrapup
Congrats. You now have successfully:
- Created a Local Repository
- Created a Remote Repository and linked the local to the remote
Become a Expert Shiny Developer with AWS
Have a question? Leave a comment.